Introduction: The Debate Between DIY and Professional Brake Service
In the age of YouTube tutorials and tool rental stores, it’s tempting to take automotive maintenance into your own hands. Brake fluid flushing—a process of removing old hydraulic fluid and replacing it with fresh, clean fluid—is one job many DIYers think they can handle with a bottle of fluid, a bleeder kit, and an afternoon.

But brakes aren’t just another car system—they’re your primary safety line. A poorly executed flush can introduce air into the system, damage sensitive ABS valves, and compromise stopping power. That’s why professional brake flush services—especially those performed with advanced equipment like Kenvo’s BFS line—are the gold standard for safety, completeness, and performance.
(See Kenvo’s Brake Flush Machine Service for a complete contamination-free exchange.)
1. Understanding the Brake Flush Process
1.1 What a Brake Flush Actually Does
A brake flush involves:
- Removing all old brake fluid from the reservoir and lines.
- Cleaning internal passages.
- Refilling with fresh fluid that meets your vehicle’s specifications.
- Bleeding the system to remove any air bubbles.
1.2 Why It’s Not Just a “Top-Up”
Topping up only adds new fluid to a system already contaminated with moisture, debris, and degraded fluid. A flush replaces the entire fluid volume, restoring optimal performance.
1.3 Hygroscopic Nature of Brake Fluid
Most brake fluids (DOT 3, 4, 5.1) absorb water over time, lowering boiling points and increasing corrosion risk. The flush process prevents vapor lock and component wear.
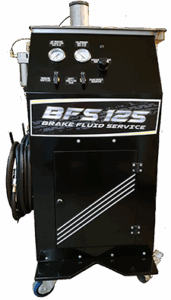
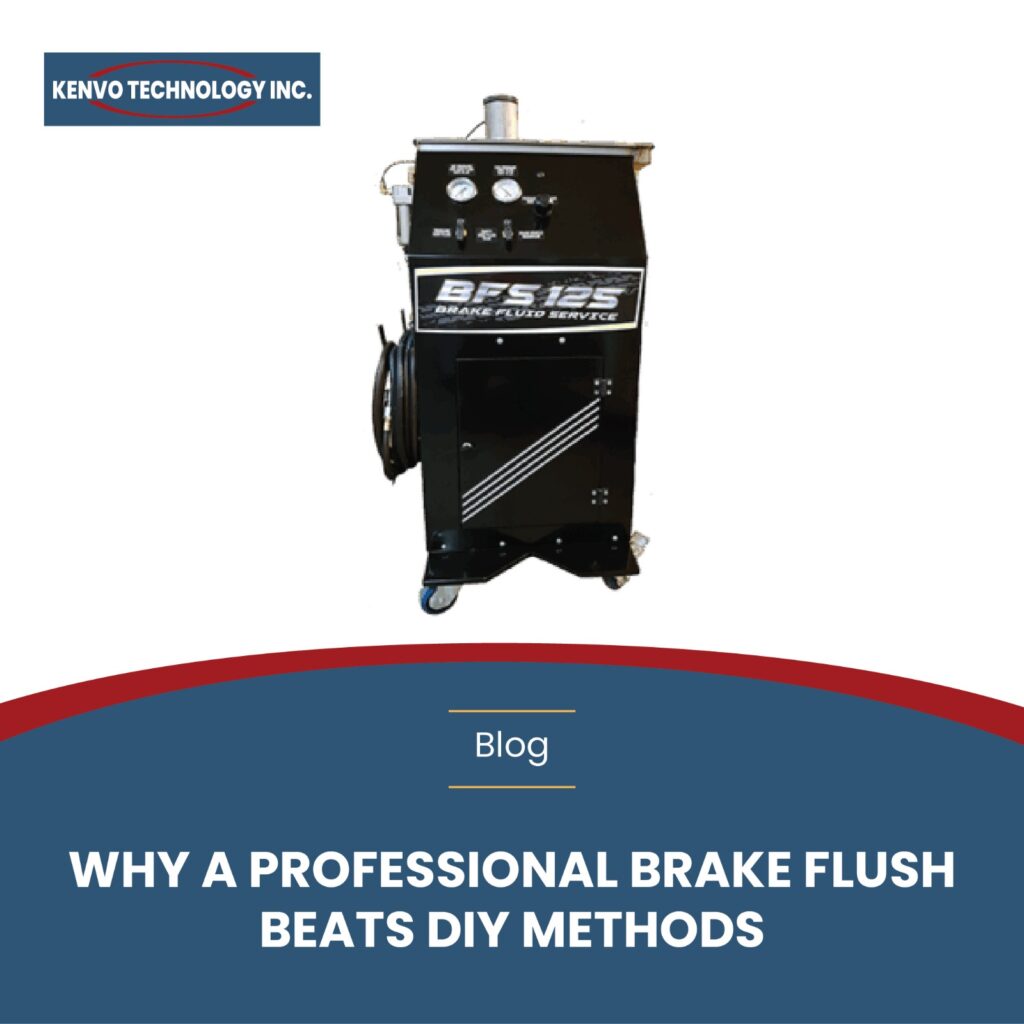
(Learn about Kenvo’s BFS 125 and its 0–50 psi precision control for safe, complete flushes.)
2. DIY Brake Flush: The Reality
2.1 Tools Required
- Brake fluid (DOT grade per vehicle spec)
- Wrenches for bleeder valves
- Tubing and collection bottle
- Pressure bleeder or vacuum pump
- Safety equipment (gloves, goggles)
2.2 Common DIY Methods
- Gravity bleed – Letting fluid drip out naturally (slow, incomplete).
- Two-person pedal method – One pumps pedal, the other opens/closes bleeders.
- Hand pump vacuum bleed – Uses a manual vacuum to draw fluid.
2.3 Common Mistakes
- Introducing air bubbles into lines.
- Not flushing ABS control units.
- Over-tightening bleeder valves and stripping threads.
- Using the wrong DOT fluid.
- Improperly disposing of old fluid.
3. Professional Brake Flush: How It’s Different
3.1 Equipment Advantage
Shops use powered flush machines—like Kenvo BFS 110, 115, and 125—that:
- Maintain consistent pressure.
- Integrate vacuum cleaning of reservoirs.
- Shut off automatically at low fluid levels.
(Compare BFS models to find the best fit for your shop or fleet.)
3.2 Technician Expertise
Professionals know how to:
- Sequence bleeding to match manufacturer specs.
- Protect ABS valves from contamination.
- Identify related issues (e.g., worn hoses, leaking seals).
3.3 Safety & Compliance
Professionals follow environmental regulations for fluid disposal, protecting both customers and the shop from fines.
4. Head-to-Head: DIY vs Professional
| Factor | DIY | Professional |
| Completeness | Often partial | Full fluid exchange |
| Time | 2–3 hours | 30–45 minutes |
| Safety risk | High | Low |
| ABS service | Rarely possible | Fully integrated |
| Waste disposal | DIY must handle | Shop compliant |
| Cost | $30–$70 | $120–$180 |
| Long-term cost | Higher (possible damage) | Lower (preventive care) |
5. Case Studies: The Cost of a Bad DIY Flush
Case 1 – ABS Valve Damage
A DIYer in Toronto tried a hand-vacuum flush but didn’t cycle the ABS pump. Contaminated fluid remained trapped inside, corroding valves. Repair bill: $1,200.
Case 2 – Brake Fade After Mountain Trip
An SUV owner flushed at home using DOT 3 fluid but the manufacturer specified DOT 4. On a mountain descent, the lower boiling point caused brake fade—endangering passengers and other drivers.
(For climates with steep terrain, Kenvo’s professional brake service ensures correct fluid and process for your driving conditions.)
6. Environmental Considerations
6.1 Why Brake Fluid Is Hazardous
Contains glycol ethers—harmful to humans, animals, and water supplies.
6.2 Professional Disposal
Kenvo-equipped shops use sealed waste tanks and approved recycling partners.
7. Performance & Safety Gains from Professional Service
- Consistent pedal feel in all temperatures.
- Extended ABS lifespan by preventing contamination.
- Reduced corrosion in lines and calipers.
- Shorter stopping distances in emergency braking.
8. Cost-Benefit Analysis
8.1 Direct Costs
- Professional flush: $120–$180.
- DIY: $30–$70 in supplies.
8.2 Indirect Costs
- DIY mistakes can lead to $500–$2,000 repairs.
- Loss of safety could lead to collisions.
9. Climate and Driving Style: Why They Change the Equation
A driver in Edmonton with extreme cold and road salt needs more frequent flushes—and professional-level precision to prevent ice crystal formation in contaminated fluid.
(Read Kenvo’s About page to see how Canadian-built systems are designed for extreme climates.)
10. DIY as a Learning Tool—With Professional Backup
If you enjoy DIY work, use it for inspections, not high-risk maintenance. Partner with a shop for the actual flush.
11. Frequently Asked Questions
- Q: Can I mix brake fluid brands?
Only if they share the same DOT specification. - Q: Do professional shops always use OEM fluid?
Many use equal or better-quality fluids meeting OEM specs. - Q: How long does a professional flush take?
About 30–45 minutes.
12. Conclusion: Safety, Longevity, and Peace of Mind
A professional brake flush is not just an upsell—it’s an investment in safety, performance, and long-term cost savings. While DIY might save you money today, it can cost you far more in the long run.
(Schedule your Kenvo brake flush today and experience the difference of a complete, professional-grade service.)

